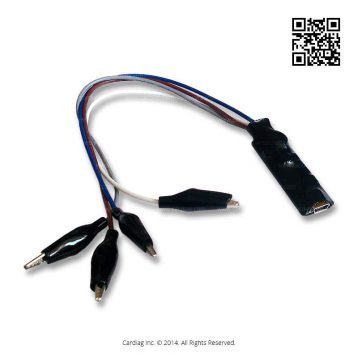
AdBlue Emulator V4 NOx is compatible with DAF trucks of XF and LF series. It’s an installation manual for DAF XF series trucks. Before installing AdBlue Emulator V4 NOx on DAF XF truck, please make sure that you have emulator programmed (Note! Please provide VIN code of the vehicle (DAF CF/XF series). Emulator may work incorrectly if VIN code not programmed into the emulator.) to DAF XF program. You can order pre-programmed emulator, or you can purchase programmer device for V4 type emulators and change the program anytime you want. Also, you can make more accurate programming by writing VIN code of the truck to the emulator for better compatibility.
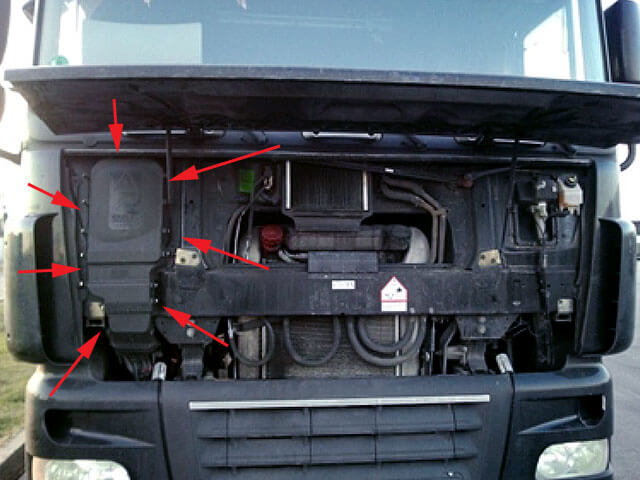
At first step you should locate harness in the front of truck. You need to lift up the front hood and locate the plastic cover (passenger side). There are 13 clips that holds up cover of the plastic box. Please open these clips carefully with a flathead screwdriver.
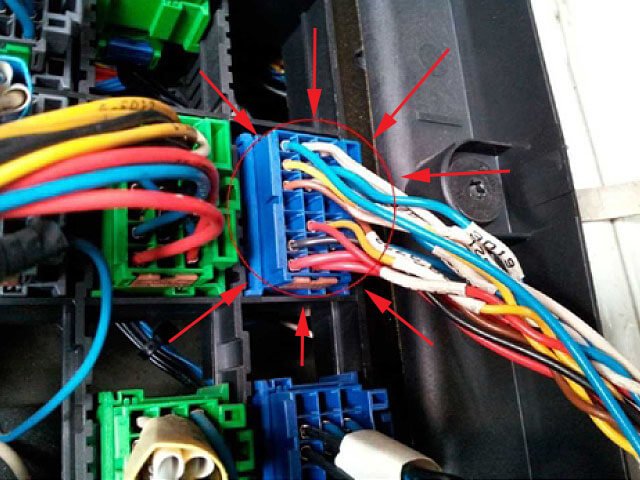
When you access the plastic box with all wiring you’ll be able to connect emulator wires to necessary points. You need to find SCR system connector which has wires with numbers: 3781C (PIN 14 – red), 3780C (pin 13 – yellow), M34-2 (pin 19 – red), 1240A (pin 9 – red). Keep in mind that some trucks has wire 3781C named as 3781B and 3780C as 3780B.
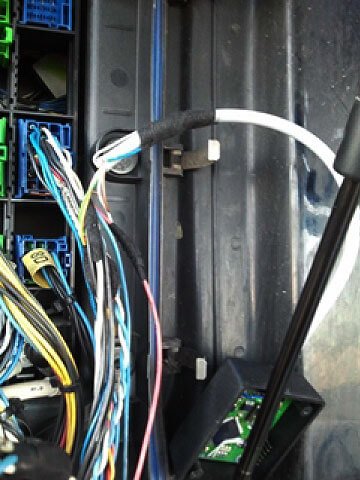
Now when you located all necessary wires you can connect emulator wires directly to the corresponding wires on the truck.
- Emulator CAN H (green wire) ↔ Truck 3781C (PIN 14 red);
- Emulator CAN L (yellow wire) ↔ Truck 3780C (PIN 13 yellow);
- Emulator Mass “-” (brown wire) ↔ Truck M34-2 (PIN 2 white);
- Emulator Supply “+24V” (white) ↔ 1240A (PIN 19 red).
If you can’t check numbers on the wires, you can solve this by measuring the voltage on the wires (CAN H and CAN L) to be sure. The wire that has a higher voltage (just a tenth of a Volt difference) is a CAN High, and it must connect to the green wire of AdBlue emulator. Wire with the lower voltage is a CAN Low. It must connect to the yellow wire of AdBlue emulator.
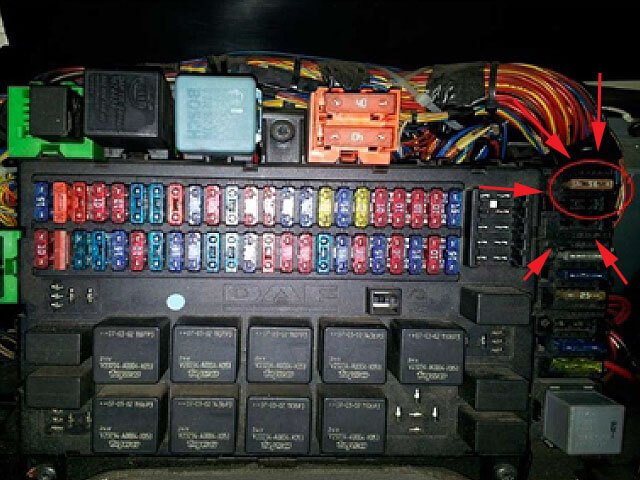
Next step is to remove fuses. Fuse box is located inside of the truck (dashboard panel on the passenger side). Pull out fuse of AdBlue SCR module (upper right corner, first column from the right side, first fuse from the top) and fuse No. 6 (first row from the top).
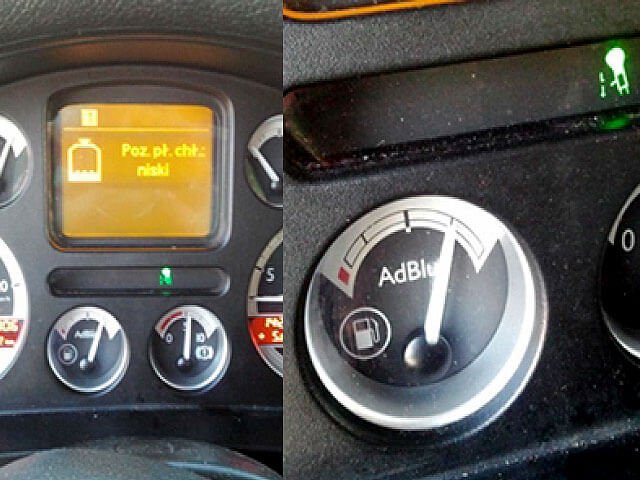
After the installation no errors are displayed. Indicator from the AdBlue tank shows the level of fluid. To validate the connection of the emulator, you must unscrew the emulator cover, turn the key and look whether 2 LEDs light up inside the emulator. The first LED indicates the proper connection of power supply. The second light indicates a proper connection of CAN line. Start the engine and press hardly gas pedal, then turn off the engine. Next turn on the ignition switch (only on the ignition, without starting the engine) and push the accelerator for 5-6 seconds. Turn off the ignition, then restart the engine. After the installation of the emulator, there should not display any errors associated with SCR AdBlue gauge level. On AdBlue level fluid measure we should see a value of 75% or 100%.
Related products
Attention! AdBlue emulators are illegal in some countries. You should check your local laws or laws of those countries that you might cross with your vehicle. AdBlue emulator alters SCR system thus makes the vehicle to produce higher exhaust gas emissions. EURO 6 and EURO 5 vehicles equipped with AdBlue emulator device will no longer match those EURO standards. Our AdBlue emulators designed for countries where environmental rules are less strict, and there are no requirements for vehicles to satisfy EURO 6 or EURO 5 regulations. By purchasing any AdBlue emulator, you assume full responsibility for the use of the device. It’s your personal decision to use an emulator or not. We will not accept any liability for any consequences associated with usage of AdBlue emulator devices.
